Software for Windows 10 and 11 · Mac version coming soon · made in Bergues, France

FFSMC Cut Lab, cutting software for Silhouette Cameo, Portrait and Curio

You draw wherever you like, you send the design to Cut Lab, and Cut Lab talks to the machine. Illustrator or Inkscape stays free for the whole cut. The blade works in the right order, and the design is checked before it reaches the mat. For a modeller’s masks and roundels as much as for scrapbook cards and stickers.

The design stays open, the machine cuts, and nobody waits for anybody.

Every feature unlocked during the trial. · From 59,00 € lifetime licence, 1 computer

  • Lifetime licence, no subscription
  • USB connection, no driver change
  • Email support within 48 h
  • 7 languages
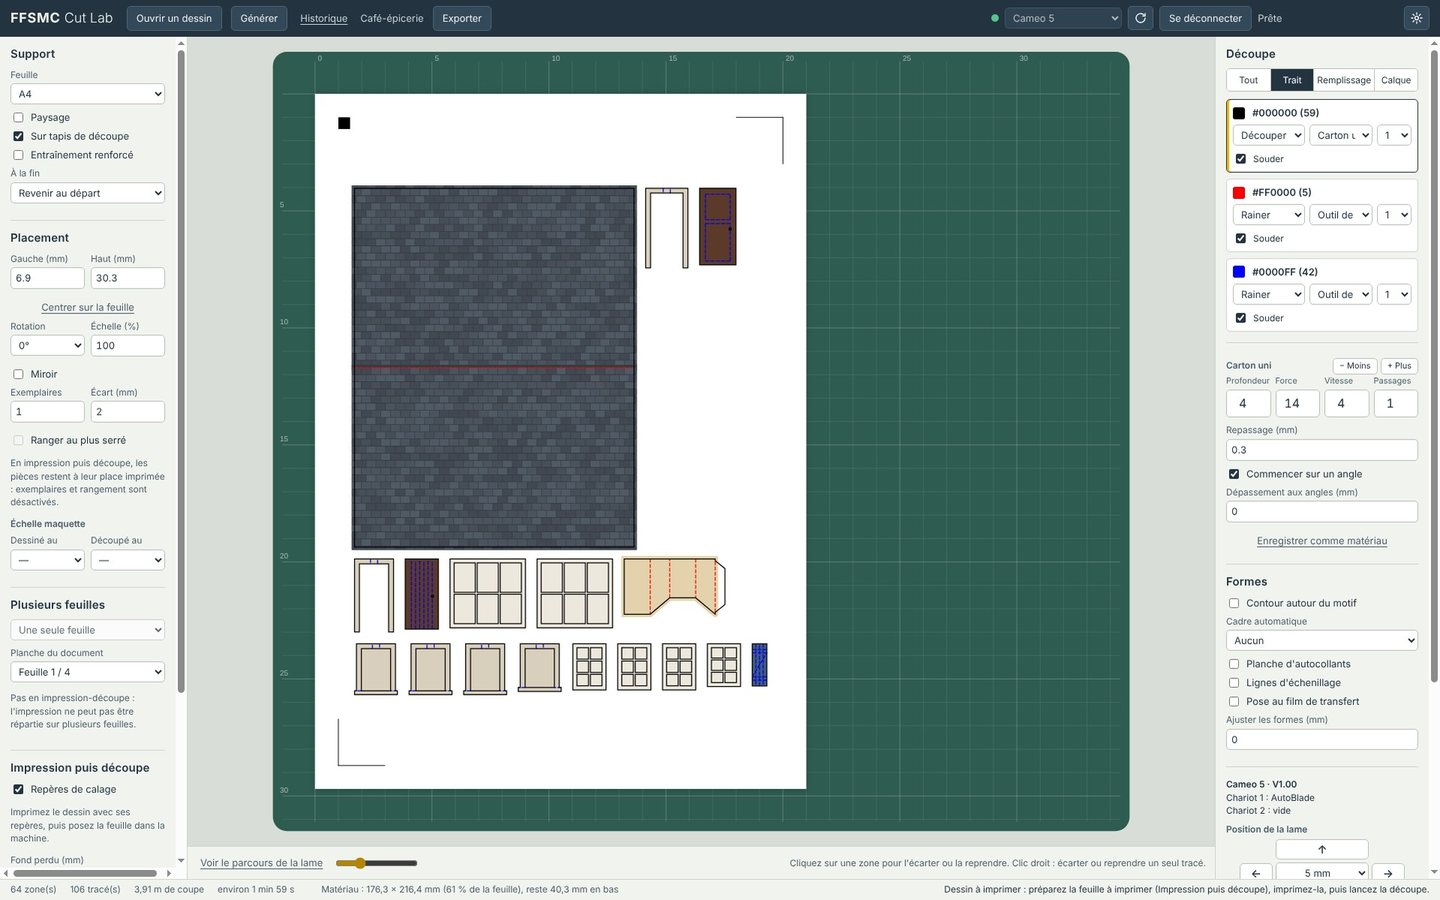
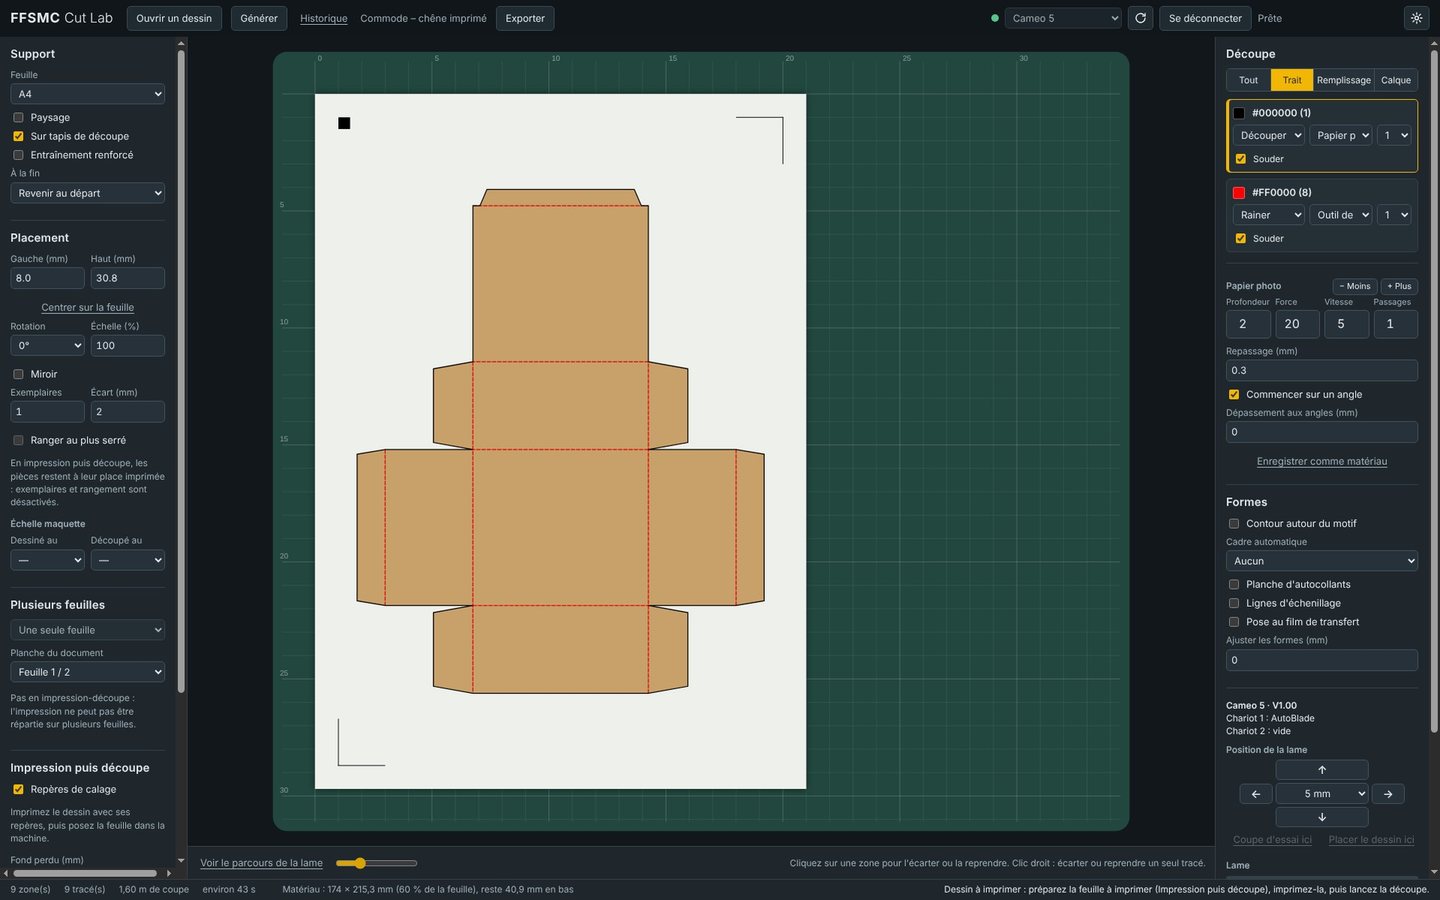
Printed house façades ready to print then cut, with their registration marks

What Cut Lab does

Nine chapters, from the file you open to the last piece you peel off. Each feature shows which edition it comes in.

Your design software stays free

You draw, Cut Lab cuts

In Illustrator, the FFSMC Cut Lab panel sends the active artboard, and Illustrator stays usable for the whole cut. In Inkscape, it’s the Extensions › Exporter › Envoyer à FFSMC Cut Lab menu. From CorelDRAW or any other program, a PDF or an SVG will do. AI, PDF, SVG and DXF files open at their exact size.

Depth, force, speed, passes, carriage 1 or 2: everything can be set, and more than thirty materials come preset. After a test cut, “Less” or “More” adjusts the pressure by one step. A setting that works can be saved under a name of your choice.

  • More than thirty preset materials: vinyl, heat transfer vinyl, paper and card, paint masks, magnet, felt…
  • One setting for the whole design, or one per line colour, fill colour or layer
  • Automatic mirroring for heat transfer vinyl
  • Simple mode to start with, expert mode to see everything

In every edition

FFSMC Cut Lab, Complete Edition

Check before sending

Cut in the right order, checked before it starts

Cut Lab cuts zone by zone, the inside before the outline, starting from a sharp corner: corners are crisp and outlines close properly. When a file opens, it flags open paths, text not converted to outlines, items too small for the blade or outside the sheet. A click on a zone sets it aside, a second click brings it back.

Before you start anything, the blade path is animated on screen. During the cut, a bar shows the progress and the time left. A clean stop lets you resume from the next zone, and Windows tells you when it’s finished.

  • Duplicate paths removed, overlapping shapes welded if you wish
  • Cutting length and expected time below the sheet
  • Test cut exactly where you want it, blade moved with the arrows
  • History of every job and blade wear tracking (Complete and Studio)
  • Up to four machines on a single computer (Studio)

In every edition; history and blade wear from Complete, several machines with Studio

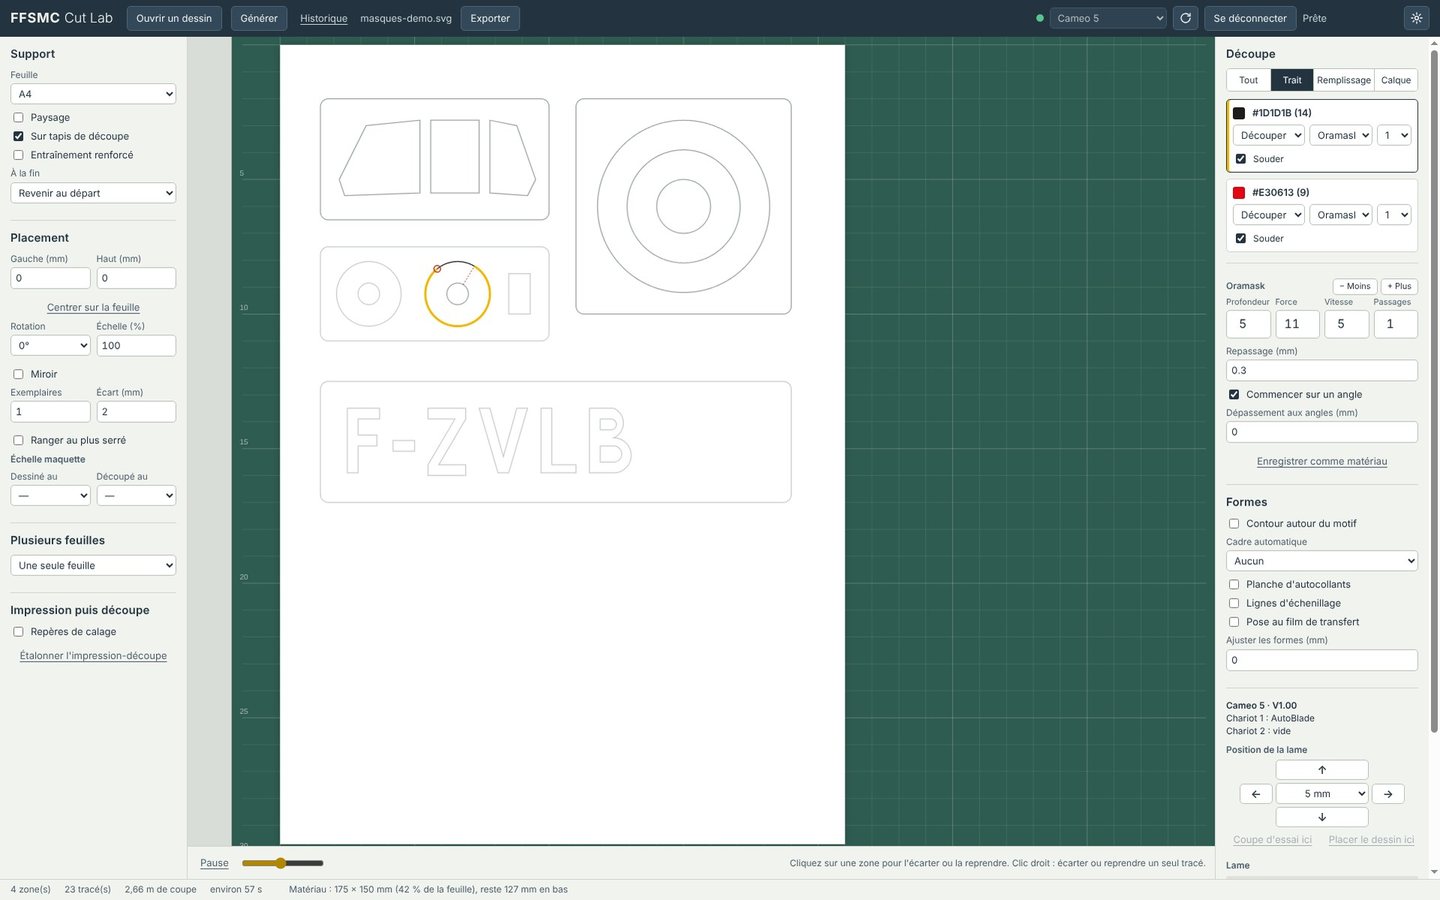
A sheet ready to cut: cockpit, roundels and the registration F-ZVLB

Print then cut

The printed design, cut all the way round

Registration marks go in the margins, as unobtrusive as possible. Cut Lab prepares a PDF of the sheet to print at 100 %, the machine reads the marks and cuts exactly around the motif. For stickers, decals and printed scenery.

Two calibrations come with every edition: the machine one, on a 100 mm square measured with a ruler, and the print then cut one, on a test sheet read to a tenth of a millimetre.

  • Marks added straight into Illustrator if you’d rather print from there
  • Sticker sheet in a single cut: kiss cut around the motifs, sheet edge cut through (Complete and Studio)
  • Outline at the chosen margin around each motif (Complete and Studio)
  • Bleed, so no more white edges (Complete and Studio)

In every edition; stickers, outline and bleed from Complete

Printed house façades ready to print then cut, with their registration marks

For scale modellers

Masks, roundels and registrations at the right scale

A design drawn at 1/48 can be cut at 1/72 or 1/35 without any calculation: just enter the scale it was drawn at and the scale you want. Paint masks come in layers, one sheet per colour, with the same frame and the same notches on every layer so they stack exactly.

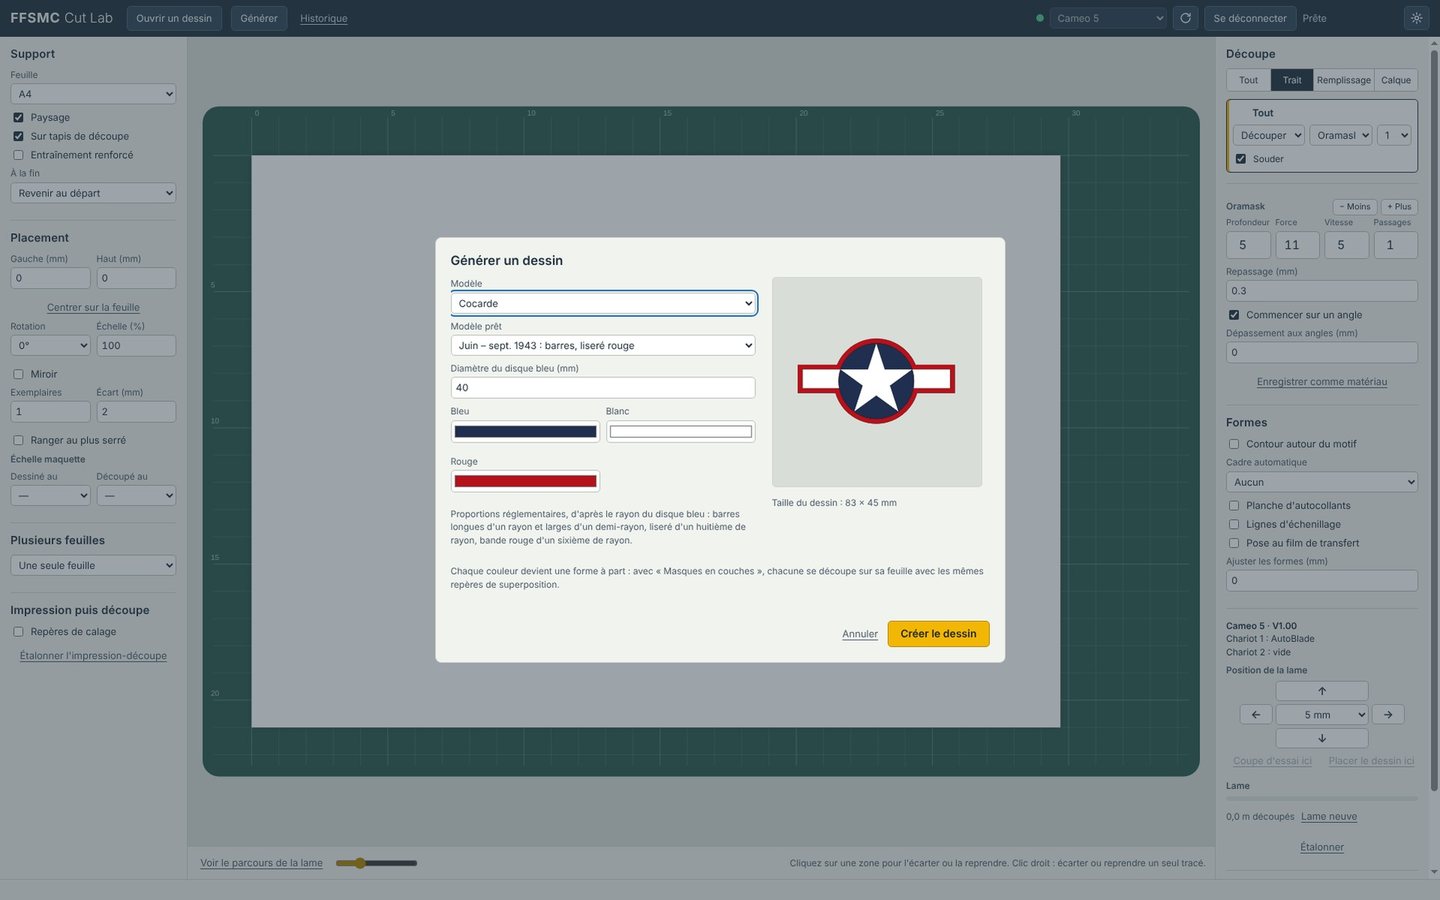
The generator draws French roundels with or without the yellow outer ring, RAF roundels (types A to D), US insignia from 1917 to low visibility based on their official proportions, or a custom roundel, ring by ring. Registrations and numbers can be typed in any font on your computer.

  • Each colour generated becomes a mask layer
  • Stars and crosses with one or two borders
  • Transfer tape placement: frame and notches, no bridges needed
  • Large designs tiled over several sheets, with joining crosses

Complete and Studio editions

Generating a design: a US insignia with white star and bars

Canopies and two-tone parts

Canopy masks, cut to the exact size

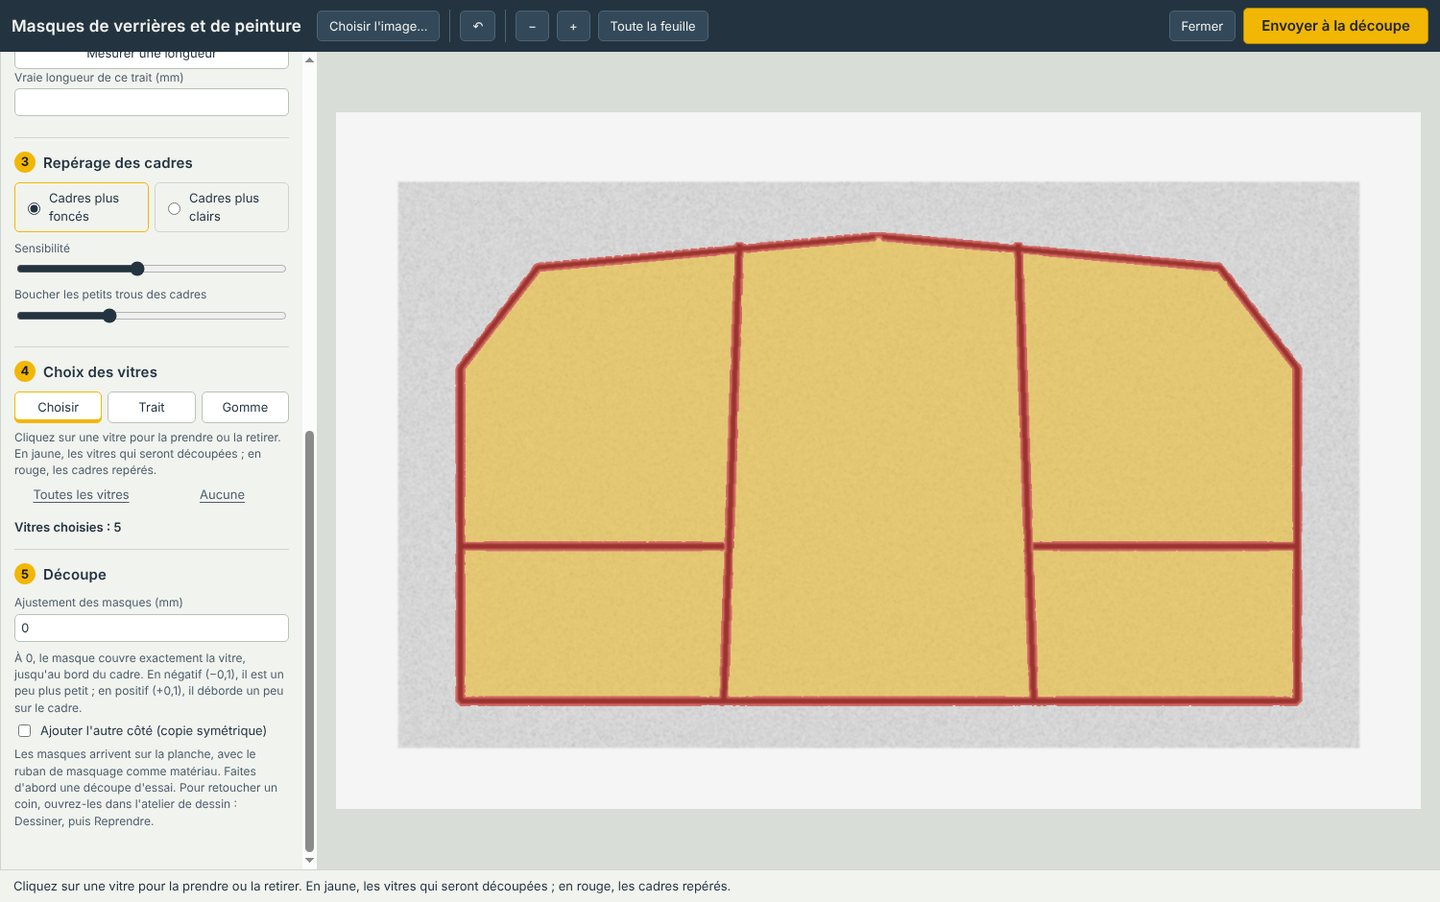
Masking a canopy with tape and a knife, pane by pane, takes hours. With Cut Lab, you rub the frames with a pencil onto a piece of tape laid on the part, scan the tape flat, and the software finds every pane on its own. The machine then cuts the masks to the exact size, in masking tape or Oramask.

No tape at hand? A photo of the canopy on a black background, or the view from the instructions with one dimension measured with callipers, will do too. One click picks or removes a pane, a line closes an unfinished frame, and the mirrored copy gives you the other side of the canopy.

  • Three methods, with on-screen advice for each
  • Exact scale from the scanner, or a single measurement to make
  • On a difficult photo, the corners of each pane can be clicked one by one
  • Adjustment to a tenth of a millimetre: mask flush with the frame, slightly inside or slightly over
  • Portholes, headlights, lights, diorama building windows: same method

Complete and Studio editions

Canopy masks: frames found on the scanned tape in red, panes to cut in yellow

Scrapbooking and crafts

Cards, labels and stickers, folds included

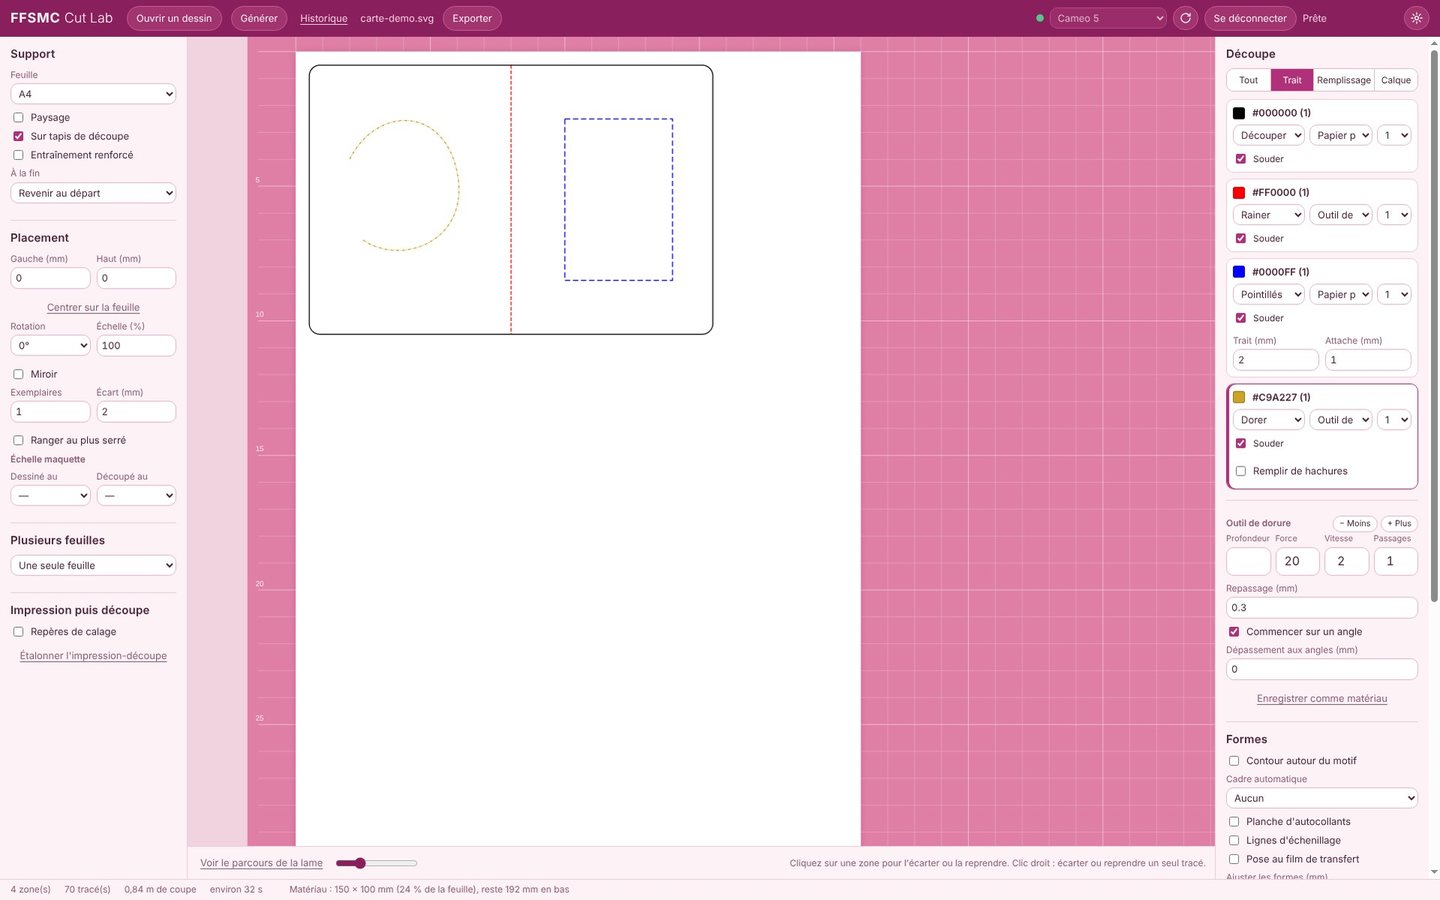
Ready-made shapes come out without any drawing program: rounded rectangle, oval, heart, scalloped circle, label, frame and mount, photo corners, folded card. Scoring marks folds without cutting, perforation makes tear-off lines.

On the Cameo 4 and 5, which have two carriages, the blade cuts and the pen writes in the same job, without changing tools. Pen writing uses single-line fonts, drawn in one pass.

  • Hatched fills, with the pen or with foil
  • Jigsaw puzzle generator: columns, rows, tabs
  • Pieces nested tightly to save material
  • Weeding lines: the waste comes off in strips
  • Embossing and stipple etching on the Curio

Complete and Studio editions

A folded card with its scored fold, in the girly theme

No need to be a graphic designer

A drawing workshop that works in millimetres

The Draw button opens a drawing workshop designed for people who aren’t graphic designers, included in every edition. Rectangle, circle, star, pen, freehand, text, and the exact dimensions of each shape on the right. Send to cutting takes it back to Cut Lab, ready to go.

With the Complete and Studio editions, assistants draw for you, to your dimensions: lidded boxes, tuck boxes, truncated cones, envelopes, windows, doors, façades, staircases, railings, fences. A plan or a photo can sit underneath at its real size, for tracing.

  • Weld, cut out, keep overlap, hollow out
  • Grid, snap and symmetry
  • Folds drawn as blue dotted lines, ready to set to Score
  • Pen patterns: bricks, stones, planks, fish-scale tiles, paving

Drawing workshop in every edition; assistants and tracing plan from Complete

The pattern for a cardboard piece of furniture, in the dark theme

Layers and relief

Layers, and sheets that stack to the millimetre

The drawing workshop sorts your design into layers: name them, hide them, lock them, put them in order. When cutting, each layer has its own material and settings, and each can go on its own sheet, in its exact place, with the same alignment notches on every sheet.

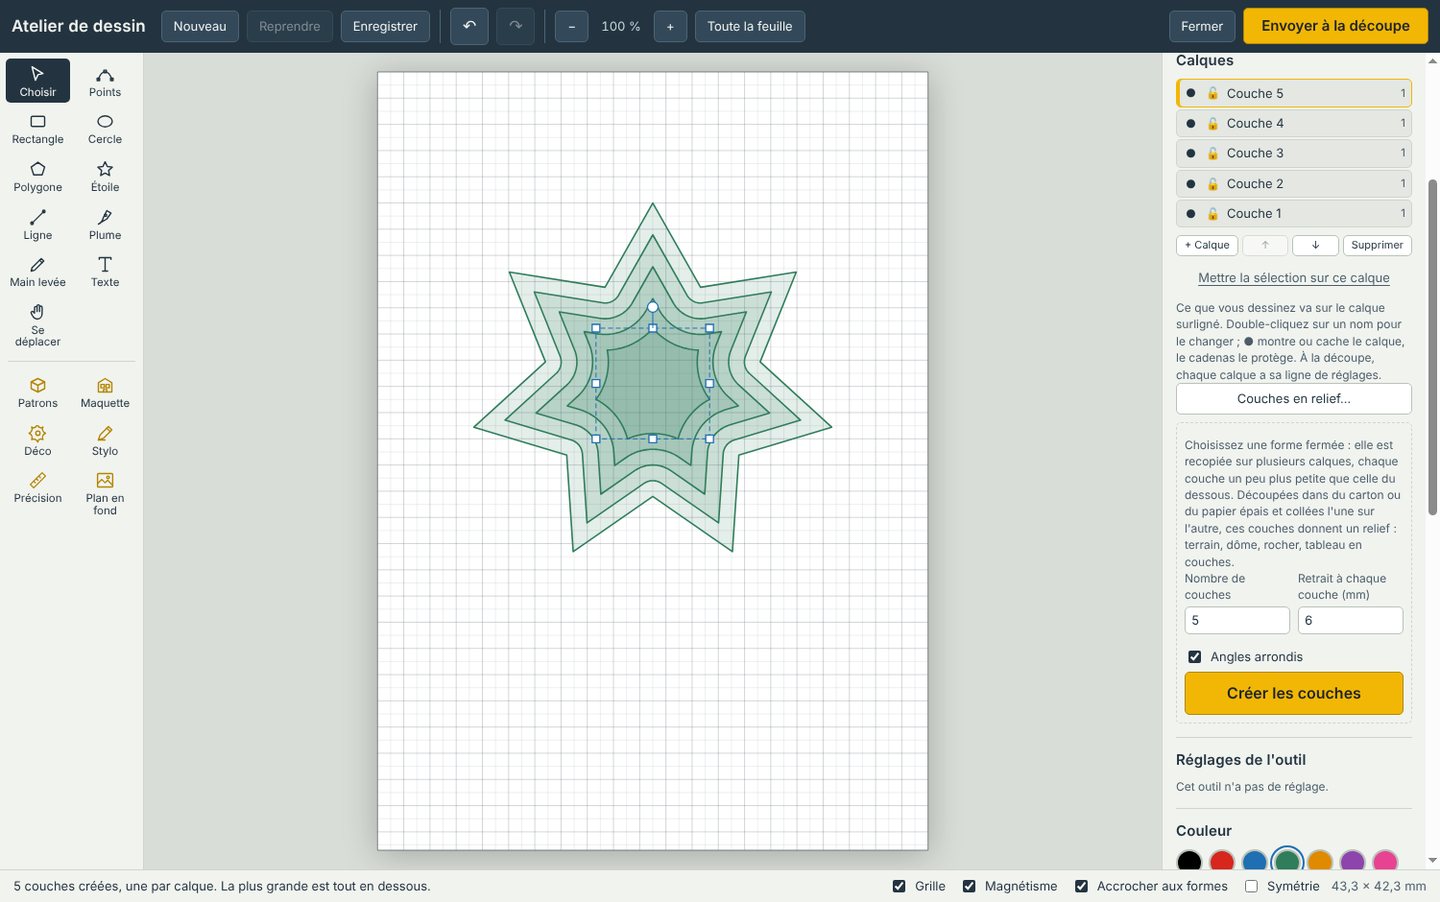
From a closed shape, Cut Lab also makes relief layers, smaller and smaller, each on its own layer: enough to build diorama terrain, a rock, a dome or a layered paper picture.

  • Layers in every edition
  • Successive masks, multi-colour vinyl, roundels
  • Relief from 2 to 30 levels (Complete and Studio)
  • Material settings to share with a friend or a club, in a simple file

Layers in every edition; relief and stacked layers from Complete

A star in five relief layers, each on its own layer

Designs ready to cut

The pack libraries

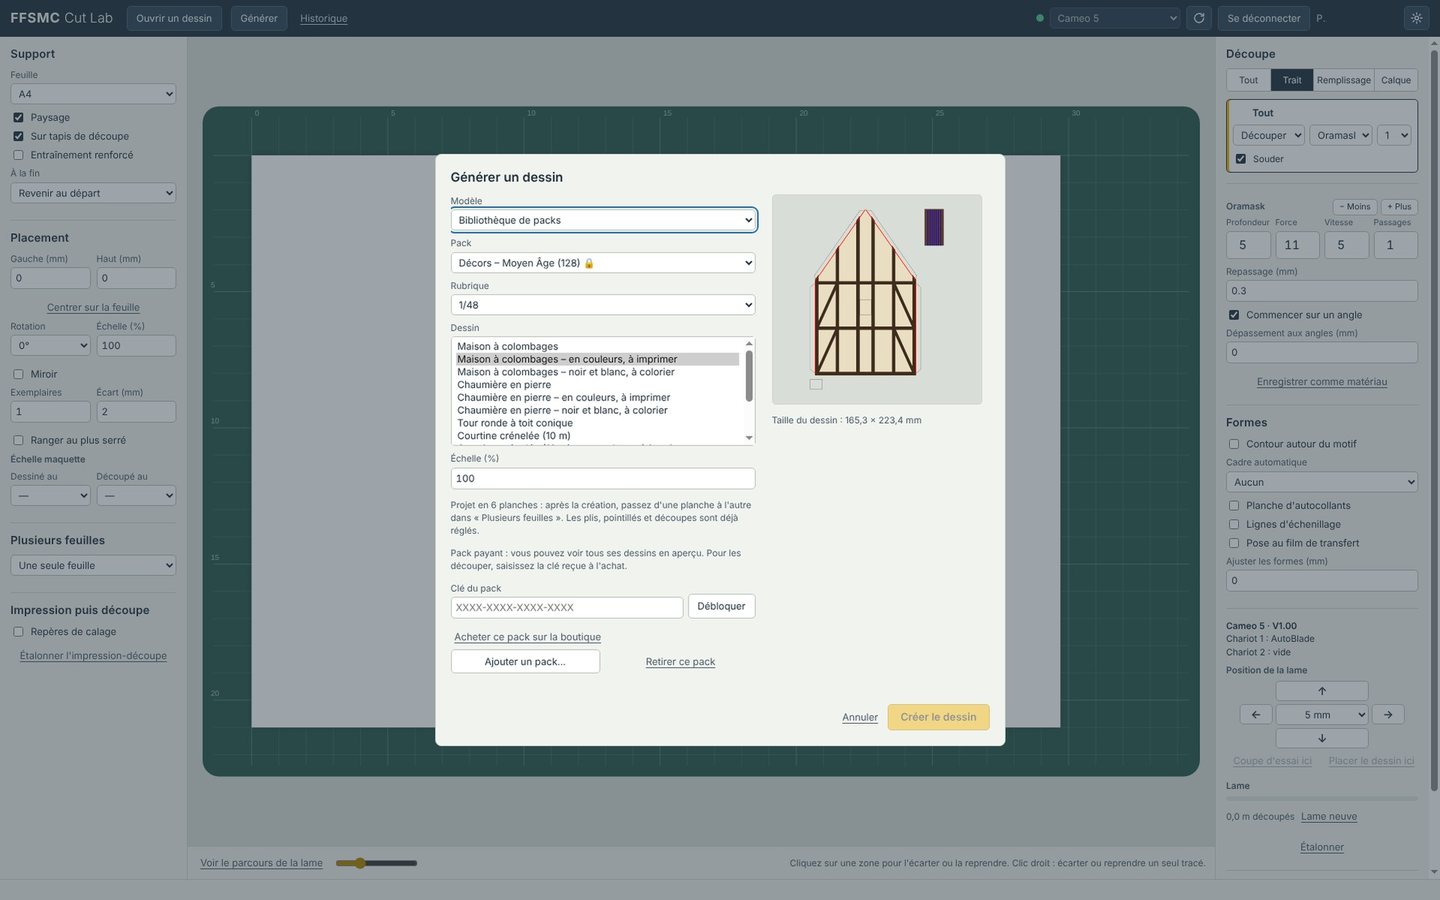
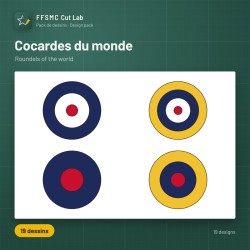
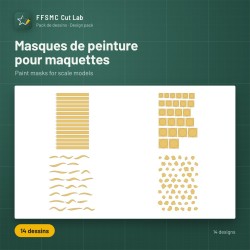
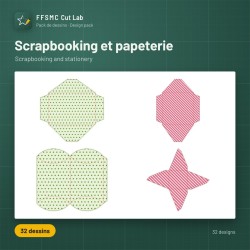
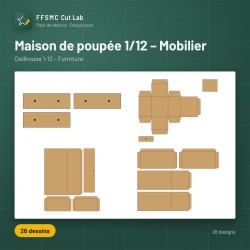
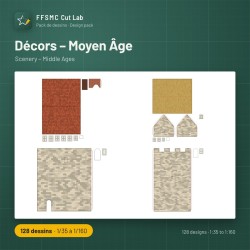
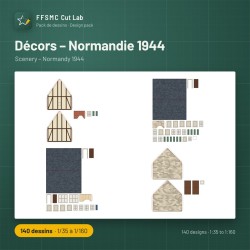
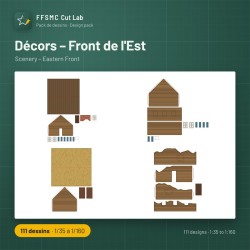
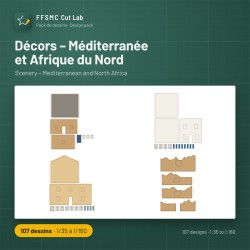
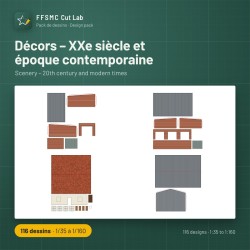
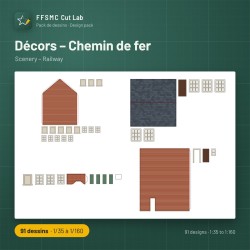
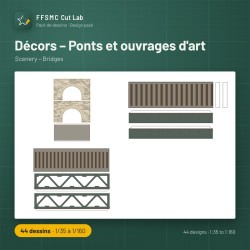
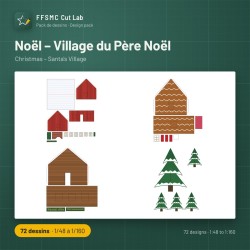
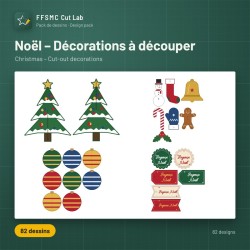
A starter pack comes free with the software. The others are sold separately on ffsmc.fr and work with every edition: roundels of the world, paint masks, diorama and model railway scenery from 1:35 to 1:160, from Gaul to modern times, bridges, a 1:12 dolls’ house, scrapbooking, Christmas.

Until a pack is unlocked, every design in it can be previewed in the software. You know what you’re buying before you buy it.

  • Opened from Generate › Pack library
  • Projects on several sheets are picked sheet by sheet
  • The pack key unlocks cutting

In every edition

The pack library: preview of a timber-framed wall, Middle Ages scenery

What stays the same in your workshop

Cut Lab takes over the cutting, and that’s all. Everything else stays as it is.

No driver to change

The machine plugs in over USB as it is. The manufacturer’s software stays installed and keeps working alongside.

A lifetime licence

Bought once, no subscription. Updates are included for one year.

No internet needed to cut

The connection is for activating the licence. After that, Cut Lab works offline, for up to two months without a check.

Nothing lost when you update

The new installer runs over the old one: licence, materials, calibration and settings are kept.

Three editions, one lifetime licence

Each edition includes everything in the one before. No subscription, updates included for one year.

Essential

Everything you need to cut accurately.

59,00 € lifetime licence, 1 computer

For cutting your own designs, with every setting.

  • Send from Illustrator and Inkscape without freezing them
  • AI, PDF, SVG and DXF files at their exact size
  • Every setting and more than thirty materials
  • Logical cutting order, design check, blade path
  • Print then cut and both calibrations
  • Drawing workshop and pack libraries
See this edition

Recommended

Complete

Every feature.

119,00 € lifetime licence, 1 computer

The edition we recommend, for modellers and scrapbookers alike.

  • Everything in Essential
  • Roundels, insignia, registrations, ready-made shapes, puzzles
  • Canopy masks, model scale, stacked layers
  • Stickers, outlines, frames, weeding
  • Scoring, perforation, foil, two tools at once
  • PNG and JPG images, history, export, blade wear
See this edition

Studio

For a workshop with several machines.

169,00 € lifetime licence, 1 computer

Lifetime licence for 3 computers, and up to four machines on one of them.

  • Everything in Complete
  • 3 computers: the workshop, home and the laptop
  • Up to four machines run from one computer
  • One window per machine, each with its own design and cut
See this edition

An Essential or Complete licence covers one computer, a Studio licence covers three. The licence is for life: Cut Lab doesn’t stop after a year. What’s included for one year is the updates.

Detailed comparison
FeatureEssentialCompleteStudio
Cutting without blocking Illustrator, sending from Illustrator and Inkscape
AI, PDF, SVG and DXF files
All settings, preset materials and your own materials
Settings by colour or by layer, choice of zones, logical order
Test cut, design check, blade path, stop and resume
Print then cut and both calibrations
Drawing workshop with layers, several designs on the sheet
Pack libraries
PNG and JPG images —
Drawing assistants, tracing plan, relief layers —
Canopy and paint masks —
Generator: roundels, insignia, text, ready-made shapes, puzzles —
Model scale, stacked layers, transfer tape placement —
Shapes: outline, frames, stickers, weeding, adjustment —
Tight nesting, copies, several sheets —
Perforating, scoring, foiling, hatching, two tools at once —
History, export, blade wear —
Several machines on one computer — —
Edition 59,00 €119,00 €169,00 €

Try Cut Lab

Download the installer, double-click it and follow the screens: there is nothing to set. The first time you start it, Cut Lab runs for 7 days with every feature. No machine to hand? Pick a machine in Simulation from the list, and you can still prepare everything. On first launch, Windows may show “Windows protected your PC”: click “More info”, then “Run anyway”. The program is signed in the name of Christophe Queyroi.

Windows Mac · soon Buy a licence

Version 2.0.1 106.4 MB Windows 10 et 11 (64 bits)

System requirements

  • Windows 10 or 11, 64-bit
  • A compatible cutting machine, connected by USB
  • An internet connection to activate the licence
  • To send directly: Illustrator (panel added during installation) or Inkscape (extension copied once)

Tips and tricks

Taken from the user manual and from everyday use. Enough to save you time from the very first cut.

  1. Start in simple mode

    Cut Lab then shows only the essentials. Expert mode brings up the fine settings: overcut, corner overcut, registration mark settings, piece rotation. Switch over the day you need them.

    Where Preferences, last button on the right of the top bar

  2. Prepare everything without a machine

    Machines in Simulation let you prepare everything and watch the blade path with nothing plugged in. Handy during the trial, or to prepare a job away from the workshop.

    Where Machine list, top right

  3. Say yes to the first-day calibration

    Two minutes, a 100 mm square measured with a ruler, and every cut after that is corrected automatically. Measure as precisely as you can, across and down.

    Where Offered the first time you connect, then Machine settings › Calibrate

  4. A test cut for every new material

    The small 10 mm square should come away without marking the backing. If not, + More or − Less, and test again. It costs a square centimetre of material, not a sheet.

    Where Right-hand panel, Test cut button

  5. Take a pencil rubbing of the canopy

    Masking tape smoothed well over the canopy, a soft pencil rubbed flat across it, and the frames show up like a print. Stuck down flat and scanned, the tape gives masks of the right length, even on a curved canopy.

    Where Masks button, at the top

  6. Test cut where there’s room

    The arrows move the blade over the sheet. Test cut here does the test at that spot instead of in the corner; Place the design here moves the design there. Ideal for using up an offcut.

    Where Machine settings › Blade position

  7. Keep your settings, and tidy the list

    Keep these settings for “…” saves what works. The star puts the material in your Favourites, at the top of the list. And untick In the list for materials you never use: they disappear without being lost.

    Where Cutting panel, and its Manage materials link

  8. Hold Ctrl to add a design

    A file dragged onto the sheet replaces the open design. Hold down Ctrl and it’s added alongside instead.

    Where On the sheet, from Windows File Explorer

  9. One click to set a zone aside

    A click on a zone sets it aside, a second click brings it back, a right-click sets aside a single path. Perfect for recutting one piece that went wrong. Bring everything back puts everything back into the cut.

    Where Directly on the sheet

  10. Watch the path before you start

    The animation shows in what order everything will be cut, with a slider for its speed. The strip also gives the cutting length and the expected time.

    Where Below the sheet, Show the blade path

  11. Stop without losing everything

    Something wrong halfway? Stop, then Resume where it stopped: the machine carries on from the next zone. And the Windows notification lets you get on with something else while it cuts.

    Where During the cut, Stop then Resume where it stopped

  12. Always print at 100 %

    Cut Lab’s PDF must come out at 100 %, without “fit to page”. Otherwise the marks are no longer where the machine expects them.

    Where Print then cut › Prepare the sheet to print (PDF)

  13. Switch off the lamp above the machine

    Its reflection on the sheet confuses the mark sensor. It’s the first thing to check when the marks can’t be found.

    Where Print then cut

  14. Bleed against white edges

    The image extends slightly beyond the cut line: no more white edge if the blade runs a fraction off.

    Where Print then cut › Bleed (Complete and Studio)

  15. Corner overcut: zero for vinyl

    On thick card, letting the blade go slightly past each corner cuts it right through. On vinyl and Oramask, leave it at 0.

    Where Cutting panel, in expert mode

  16. Track enhancing for thick materials

    The rollers go back and forth a few times before starting, to mark their path well. Useful with thick or slippery materials.

    Where Left-hand panel › Media

  17. Folds in blue, pen lines in green

    In the assistants’ designs, folds are drawn as blue dotted lines: set blue to Score, Perforate or Draw. Lines in green are meant for the pen.

    Where Cutting panel, setting per colour

  18. A plan at its real size

    Put a plan or photo underneath, click two points whose distance you know, type the real distance: the plan takes on its real size, ready to trace. It will never be cut.

    Where Drawing workshop › Tracing plan › Set the scale (Complete and Studio)

  19. Repeat a job exactly

    Every cut you start is added to the history with all its settings. Reopen brings it back exactly as it was: all that’s left is to check the preview and start.

    Where Top bar › History (Complete and Studio)

  20. Tell it when the blade is new

    Cut Lab counts the metres cut so it can warn you when the blade is getting tired. After changing it, click New blade.

    Where Machine settings › Blade (Complete and Studio)
Good cutting habits, with or without Cut Lab

A few workshop habits that save most spoiled sheets, whatever the machine.

  • A test before the whole sheet

    New material, new roll, new blade: a small test square first. It should come away without marking the backing.

  • A clean blade that isn’t worn

    When the cut stops going through the material, the blade is often to blame before the settings. Clean it, and change it once it has done a lot of work.

  • Measure with a ruler

    If pieces don’t come out at the right size, cut a square of known size and measure it. You correct what you’ve measured, not what you assume.

  • Convert text to outlines

    Text still in a font isn’t a path: the machine can’t cut it. Convert it to outlines in your drawing program before sending.

  • The sheet square in the corner of the mat

    A sheet placed crooked throws everything off, and for print then cut the marks can no longer be found.

  • Print at 100 %

    For print then cut, never “fit to page”: the printer must put out the sheet at its exact size.

Your questions, our answers

What people ask before buying, and what they ask standing next to the machine. Type a word to find your answer, or pick a topic.

Before buying

What does Cut Lab do, in a nutshell?

It runs your cutting machine from Windows. You draw wherever you like, you send the design to Cut Lab, and Cut Lab talks to the machine. Meanwhile, Illustrator or Inkscape stays free: you carry on working while the machine cuts.

Which machines are supported?

The Cameo 5, 5 Plus, 5 Alpha and 5 Alpha Plus; the Cameo 4, 4 Plus and 4 Pro; the Cameo Pro MK II; the Cameo 3 and Cameo 2; the Portrait 4, 3 and 2; the Curio. The machine connects over USB, with no driver change.

Does Cut Lab replace Silhouette Studio?

For everything to do with cutting, yes: Cut Lab is the one talking to the machine. You don’t need to uninstall Silhouette Studio or Connect, they keep working alongside. Just close them before using Cut Lab: a machine can only take orders from one program at a time. If you forget, Cut Lab will remind you.

Does it work with a Cricut?

No. Cut Lab runs the Silhouette machines on the list of supported machines, and only those.

Is there a Mac version?

No. Cut Lab runs on Windows 10 and Windows 11, 64-bit.

Do I need Illustrator to use it?

No. Cut Lab opens AI, PDF, SVG and DXF files directly, wherever they come from. It also has its own drawing workshop, in every edition, designed for people who aren’t graphic designers. With the Complete and Studio editions, the generator creates roundels, text, ready-made shapes and puzzles without any drawing program.

Is it only for scale modellers?

No. Modellers get model scale, layered masks and roundels. Scrapbookers and crafters get ready-made shapes, folded cards, scoring, perforation, pen writing and sticker sheets. The packs run from diorama scenery to a 1:12 dolls’ house.

Can I try it before buying?

Yes. Download the installer from this page: the first time you start it, Cut Lab runs for 7 days with every feature unlocked. The number of days left is shown in the small yellow badge at the top right. No machine yet? The list offers machines in Simulation: you can prepare everything and watch the blade path, with nothing plugged in.

Which languages is it available in?

French, English, Spanish, German, Italian, Polish and Brazilian Portuguese. You choose the language in the Preferences, along with the theme: Light, Dark or Girly.

Editions, licence and purchase

Which edition should I choose?

Essential is enough to cut your own designs: every setting, the cutting order, the design check, the simulation, print then cut and the drawing workshop. Complete adds everything else: roundel and insignia generator, model scale, layered masks, stickers, scoring, perforation, PNG and JPG images, history. That’s the one we recommend. Studio is Complete on three computers (the workshop, home and the laptop), with up to four machines on one of them.

How much does Cut Lab cost?

€59 for the Essential Edition, €119 for Complete, €169 for Studio. It’s a lifetime licence, paid once, with no subscription. Updates are included for one year.

How do I know whether a feature is in my edition?

In Cut Lab, features reserved for the higher editions carry a small crown. The Compare the editions button, in the Licence window, gives the details.

How do I activate my licence?

Your key is emailed to you right after your purchase; it’s also in your account on ffsmc.fr, under My licences. In Cut Lab, click the badge at the top right, paste the key into the Your licence key box, then click Activate. The computer must be online at that moment.

Do I need to be online to cut?

No, only to activate the licence. After that, Cut Lab works offline and checks the licence from time to time when the internet is available. If it hasn’t been able to for more than two months, it asks you to connect the computer and click Check now. Your designs and settings are never lost.

I’m changing computers. What do I do?

On the old one, open the Licence window (the badge at the top right), click Release this computer and confirm. The key can then be activated on the new one. Do this before you uninstall, sell or give away the old computer.

Can I run two machines at the same time?

Yes, with the Studio edition: a single computer runs up to four machines. In the Preferences, click Open a window for another machine. Each window has its own machine, design and cut.

How do I know a new version is out?

Since version 1.4, Cut Lab tells you at start-up: a “New version available” box appears at the bottom left, with the button to download it. Install it over the old one: your licence, settings and packs are kept. The Microsoft Store version updates itself.

Designs and files

Which files does Cut Lab open?

Illustrator (.ai), PDF, SVG and DXF files, at their exact size, in every edition. With the Complete and Studio editions, it also opens PNG and JPG images and traces the outline around the motif automatically. Click Open a design, or drag the file onto the sheet.

How do I send a design from Illustrator?

The Cut Lab panel is added to Illustrator during installation. Show it from Window › Extensions › FFSMC Cut Lab (in recent versions the menu is called Extensions (Legacy)). The Send to Cut Lab button sends the active artboard, and Illustrator stays usable for the whole cut.

And from Inkscape?

The extension is installed once, by hand. In Windows File Explorer, type %LOCALAPPDATA%\Programs\FFSMC Cut Lab\resources\app\integrations\inkscape into the address bar, copy the two files you find there, paste them into %APPDATA%\inkscape\extensions, then restart Inkscape. The Extensions › Exporter › Envoyer à FFSMC Cut Lab menu then sends the design (these two entries are in French: they mean Export, and Send to FFSMC Cut Lab).

And from CorelDRAW?

Save or export your design as PDF or SVG, then open that file in Cut Lab. The size is kept. The same goes for any other drawing program.

My Illustrator file won’t open.

It was saved without the “Create PDF Compatible File” option. In Illustrator, go to File › Save As and tick this option.

Part of the design isn’t being cut.

Look at the design check below the sheet: text not converted to outlines, or an image in the file, can’t be cut. Convert the text in your drawing program (in Illustrator, Type › Create Outlines). Also check that no zone has been set aside with a click (Bring everything back button) and that no colour is set to Skip.

Can I put several designs on the same sheet?

Yes, up to fifty. Click Add a design in the top bar, or drag the file onto the sheet while holding down Ctrl. With the Complete and Studio editions, Nest tightly packs them all as close together as possible. One exception: you can’t add a design to a print then cut job.

Settings and cutting

Which materials come preset?

More than thirty: vinyl, heat transfer vinyl, paper and card, paint masks such as Oramask, decal paper, sticker paper, magnet, felt… Depth, force, speed and passes set themselves when you pick the material, and you can still change them by hand.

How do I find the right pressure?

With the test cut: the machine cuts a small 10 mm square with a triangle. The square should come away easily without marking the backing. If it doesn’t come away, click + More; if the backing is marked, click − Less. Do another test each time. Also check that the blade is clean and not worn.

How do I keep a setting that works?

The Keep these settings for “…” button replaces the chosen material’s settings with yours in one click. Save these settings also lets you create a new material under a name of your choice, which appears under My materials.

Can I set each colour differently?

Yes. At the top of the Cutting panel there are four tabs: All, Line (one setting per line colour), Fill (per fill colour) and Layer. For each group, you choose the action (Cut, Draw with the pen, Skip and so on), the material and the carriage.

Can I cut and draw with the pen in the same job?

Yes, on machines with two carriages (Cameo 4 and 5), with the Complete and Studio editions: each group goes to carriage 1 or carriage 2, without changing tools.

I have to stop the cut halfway. Is everything lost?

No. Stop halts the cut cleanly. Afterwards, Resume where it stopped carries on from the next zone, without redoing what’s already cut. Start over goes back to the beginning.

My pieces aren’t the right size.

Redo the machine calibration: Machine settings › Calibrate. The machine cuts a 100 mm square, you measure it with a ruler and type in your two measurements. Also check the Scale and the Model scale under Placement.

How do I know when to change the blade?

With the Complete and Studio editions, Cut Lab counts the metres cut and warns you when the blade has done a lot of work. After changing it, click New blade, in Machine settings.

Print then cut

How does print then cut work?

On the left, under Print then cut, tick Registration marks, then click Prepare the sheet to print (PDF). Print this PDF at 100 %, without “fit to page”. Place the sheet square in the corner of the mat, load it and click Cut: the machine reads the marks first, then cuts around the motif.

The machine can’t find the marks.

Switch off the light directly above the machine: its reflection confuses the sensor. Check that the sheet sits square in the corner of the mat and that the PDF was printed at 100 %.

The cut is off from the print.

Every printer shifts the print slightly. Click Calibrate print then cut and follow the three steps: the test sheet printed at 100 %, the test lines cut (the pen gives the clearest reading), then the two figures read off the scales. It only needs doing once per machine.

How do I make a sticker sheet?

With the Complete and Studio editions, in the Shapes panel on the right, choose Sticker sheet: each motif gets a kiss-cut outline, then the edge of the sheet is cut all the way through. Two settings, one cut.

Modelling, crafts and packs

Can Cut Lab cut canopy masks?

Yes, with the Complete and Studio editions. The Masks button opens a five-step assistant: you rub the frames with a pencil onto masking tape laid on the canopy, scan the tape flat, and Cut Lab finds every pane. A photo on a black background or the view from the instructions also work. The masks then go to the cutter at the exact size, with the mirrored copy for the other side if you want it.

How do I share my material settings?

In Manage materials, Save to share writes a small file with your own materials and the settings you have changed. Whoever receives it opens it with Open received settings, and the materials appear in their list. The file holds no licence and no design.

My design is 1/48 and I build in 1/72.

Under Placement, Model scale (Complete and Studio editions): enter Drawn at 1/48 and Cut at 1/72. Cut Lab does the maths.

How do I make roundel masks in several colours?

Generate the roundel (Generate › Roundel) or open your design, then on the left, under Several sheets, choose Layered masks. Each colour goes on its own sheet, in its exact place, with the same frame and the same notches on every layer: the masks stack up without error. Complete and Studio editions.

Which roundels and insignia can the generator draw?

French roundels with or without the yellow outer ring, RAF roundels (types A to D) and US insignia from 1917 to low visibility, based on the official proportions. Also stars and crosses with one or two borders, and a custom roundel, ring by ring. For the rest of the world, there’s the roundels of the world pack.

My design is bigger than the mat.

Under Several sheets, choose Large design in tiles (Complete and Studio editions): the design is split into overlapping sheets, and small crosses cut outside the design help you join them. Set the Overlap.

I do scrapbooking. What does Cut Lab give me?

With the Complete and Studio editions: ready-made shapes (rounded rectangle, oval, heart, scalloped circle, label, frame and mount, photo corners, folded card), pen writing in single-line fonts, scoring for folds, perforation for tear-offs, foil and hatching, and the jigsaw puzzle generator. The assistants also draw boxes, envelopes, pillow boxes and doilies to your dimensions.

What’s in the packs, and how much are they?

They cost €9.90 to €14.90 and work with every edition. There are packs for roundels of the world, paint masks, scrapbooking and stationery, a 1:12 dolls’ house, diorama scenery from Gaul and ancient Rome to modern times, railways, bridges, and Christmas. A starter pack comes free with the software.

How do I unlock a pack I’ve bought?

There is nothing to install: every pack has been included in Cut Lab since version 1.3.3. Open Generate › Pack library, choose the pack, type the key you received when you bought it into Pack key, then click Unlock. If you have an older version, install the latest one over it first.

Installation and help

How do I install Cut Lab?

Download the installer from this page, double-click it, choose the installation language and follow the screens to the end: there is nothing to set. Cut Lab appears on the Desktop and in the Start menu. If Illustrator is installed, the FFSMC Cut Lab panel is added to it at the same time.

Windows says “Windows protected your PC”. What should I do?

This is normal for newly released software: Cut Lab’s digital signature is on its way. Click More info, then Run anyway. Only download Cut Lab from ffsmc.fr.

How do I update Cut Lab?

Close Cut Lab, download the new installer and run it over the old one. Your licence, materials, calibration and settings are kept.

The machine doesn’t appear in the list.

Check that it’s switched on and that the USB cable is firmly plugged in at both ends, then click the round arrow button to the right of the list to search again. If Silhouette Studio or Connect is open, close it.

Cut Lab says “The machine is in use by another program”.

Another program is already talking to the machine, Silhouette Studio or Connect for example. Close it, then click Connect.

The Cut Lab panel doesn’t appear in Illustrator.

Close Illustrator, run the Cut Lab installer again, then reopen Illustrator and look in Window › Extensions.

How do I get help?

Write to [email protected]: we answer within 48 working hours. Tell us which machine you use and what you were doing when the problem happened; a screenshot helps a lot.

Is Cut Lab Silhouette software?

No. Silhouette, Cameo, Portrait and Curio are trademarks of Silhouette America, Inc. FFSMC Cut Lab is independent software, neither made nor endorsed by Silhouette America. It is designed and developed in Bergues, northern France, by FFSMC.

Made in Bergues, northern France

Cut Lab is designed and developed in Bergues by FFSMC, a small French company. No call centre: support answers within 48 working hours at [email protected].

Seven days to judge for yourself

Take a design and a material you know well, and put it to work.

Try it free
Caricamento in corso ...
Torna all'inizio