-
Start in simple mode
Cut Lab then shows only the essentials. Expert mode brings up the fine settings: overcut, corner overcut, registration mark settings, piece rotation. Switch over the day you need them.
Where Preferences, last button on the right of the top bar
-
Prepare everything without a machine
Machines in Simulation let you prepare everything and watch the blade path with nothing plugged in. Handy during the trial, or to prepare a job away from the workshop.
Where Machine list, top right
-
Say yes to the first-day calibration
Two minutes, a 100 mm square measured with a ruler, and every cut after that is corrected automatically. Measure as precisely as you can, across and down.
Where Offered the first time you connect, then Machine settings › Calibrate
-
A test cut for every new material
The small 10 mm square should come away without marking the backing. If not, + More or − Less, and test again. It costs a square centimetre of material, not a sheet.
Where Right-hand panel, Test cut button
-
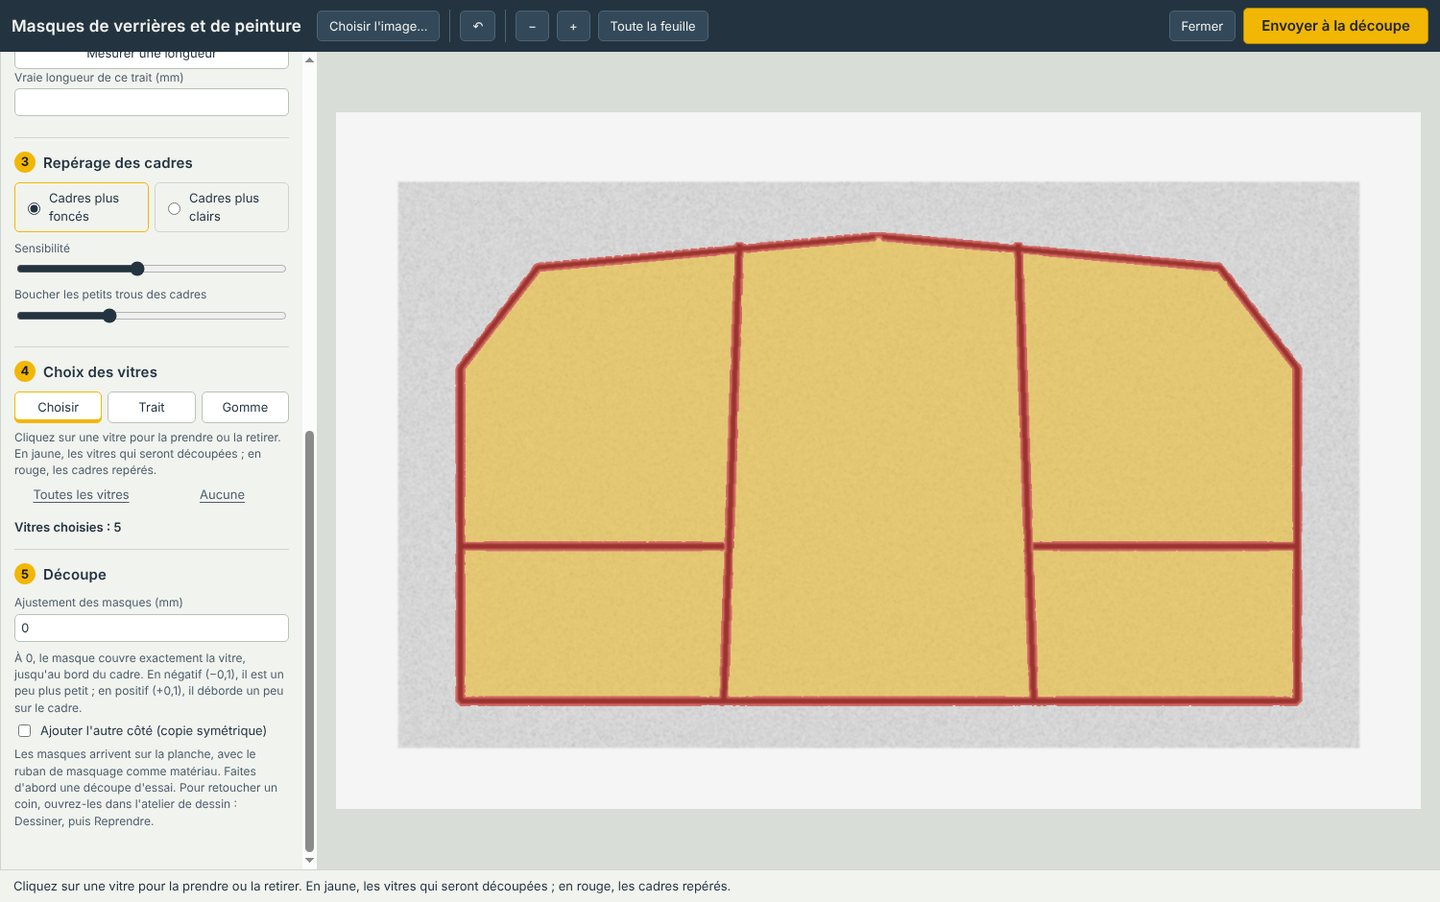
Take a pencil rubbing of the canopy
Masking tape smoothed well over the canopy, a soft pencil rubbed flat across it, and the frames show up like a print. Stuck down flat and scanned, the tape gives masks of the right length, even on a curved canopy.
Where Masks button, at the top
-
Test cut where there’s room
The arrows move the blade over the sheet. Test cut here does the test at that spot instead of in the corner; Place the design here moves the design there. Ideal for using up an offcut.
Where Machine settings › Blade position
-
Keep your settings, and tidy the list
Keep these settings for “…” saves what works. The star puts the material in your Favourites, at the top of the list. And untick In the list for materials you never use: they disappear without being lost.
Where Cutting panel, and its Manage materials link
-
Hold Ctrl to add a design
A file dragged onto the sheet replaces the open design. Hold down Ctrl and it’s added alongside instead.
Where On the sheet, from Windows File Explorer
-
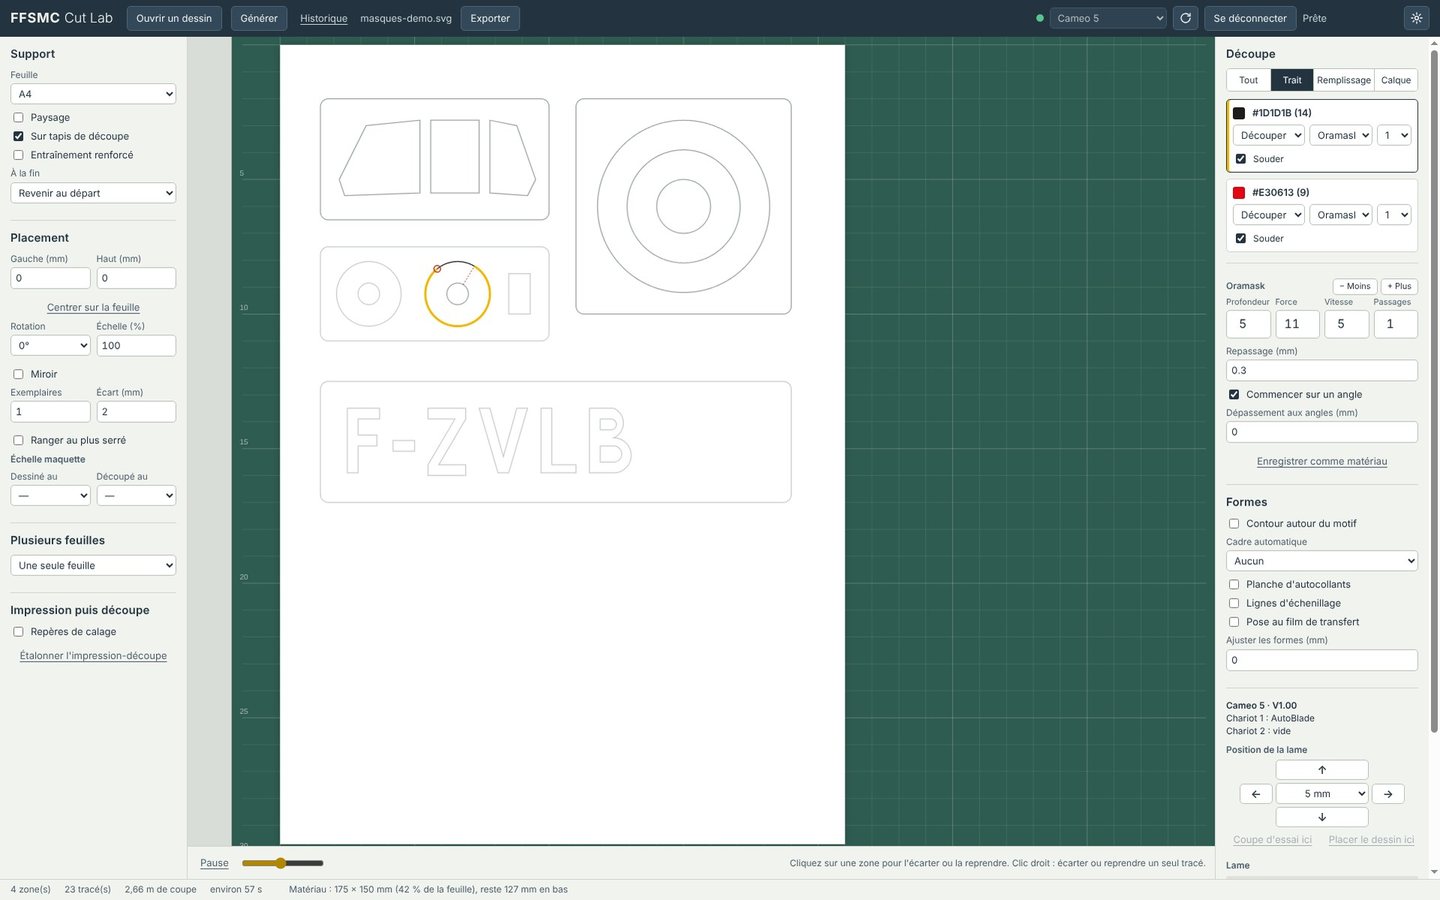
One click to set a zone aside
A click on a zone sets it aside, a second click brings it back, a right-click sets aside a single path. Perfect for recutting one piece that went wrong. Bring everything back puts everything back into the cut.
Where Directly on the sheet
-
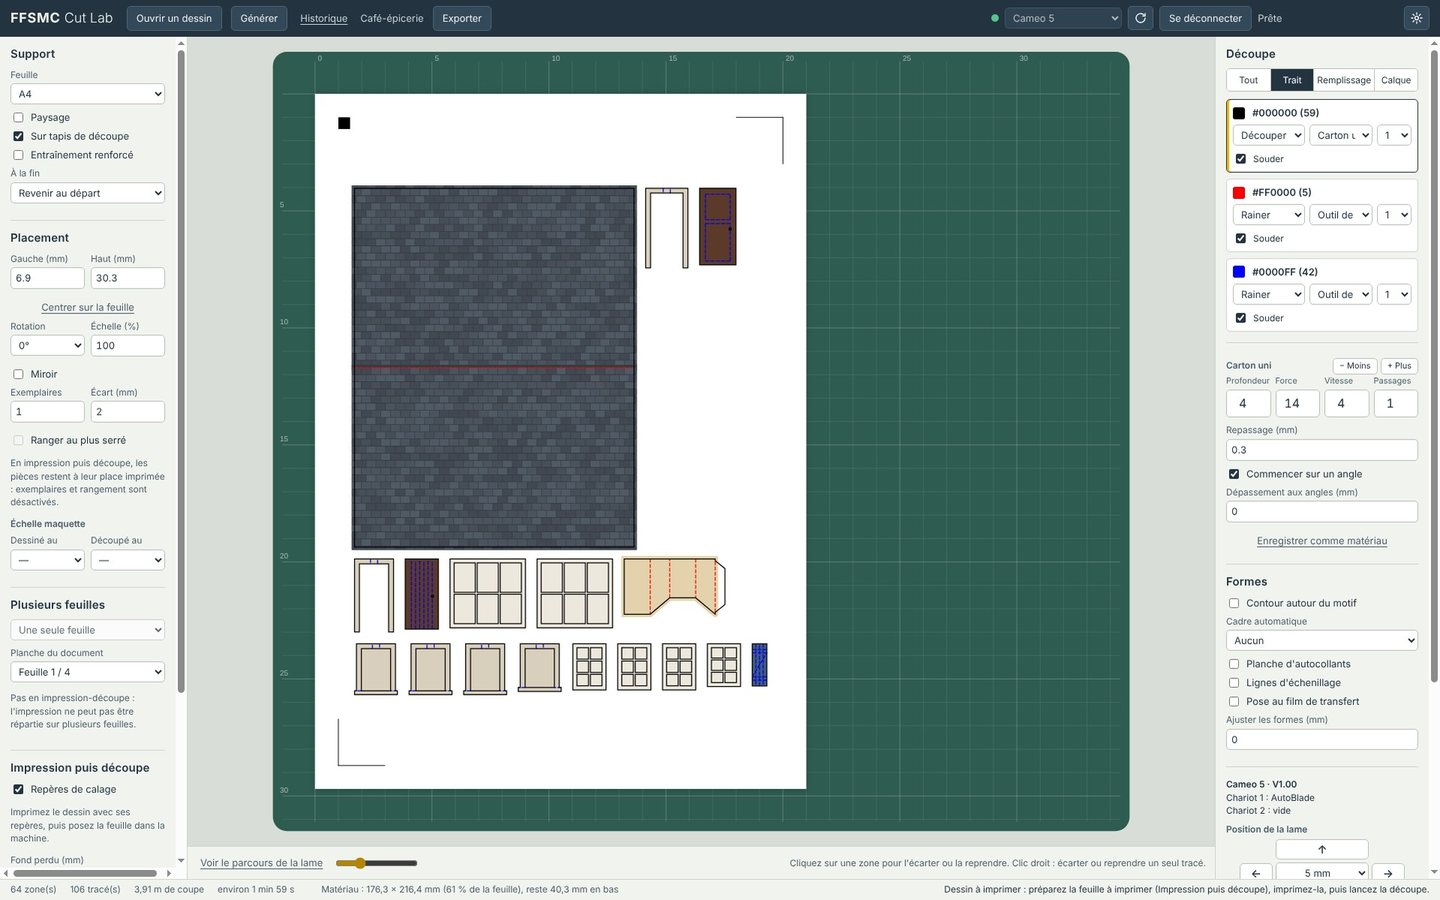
Watch the path before you start
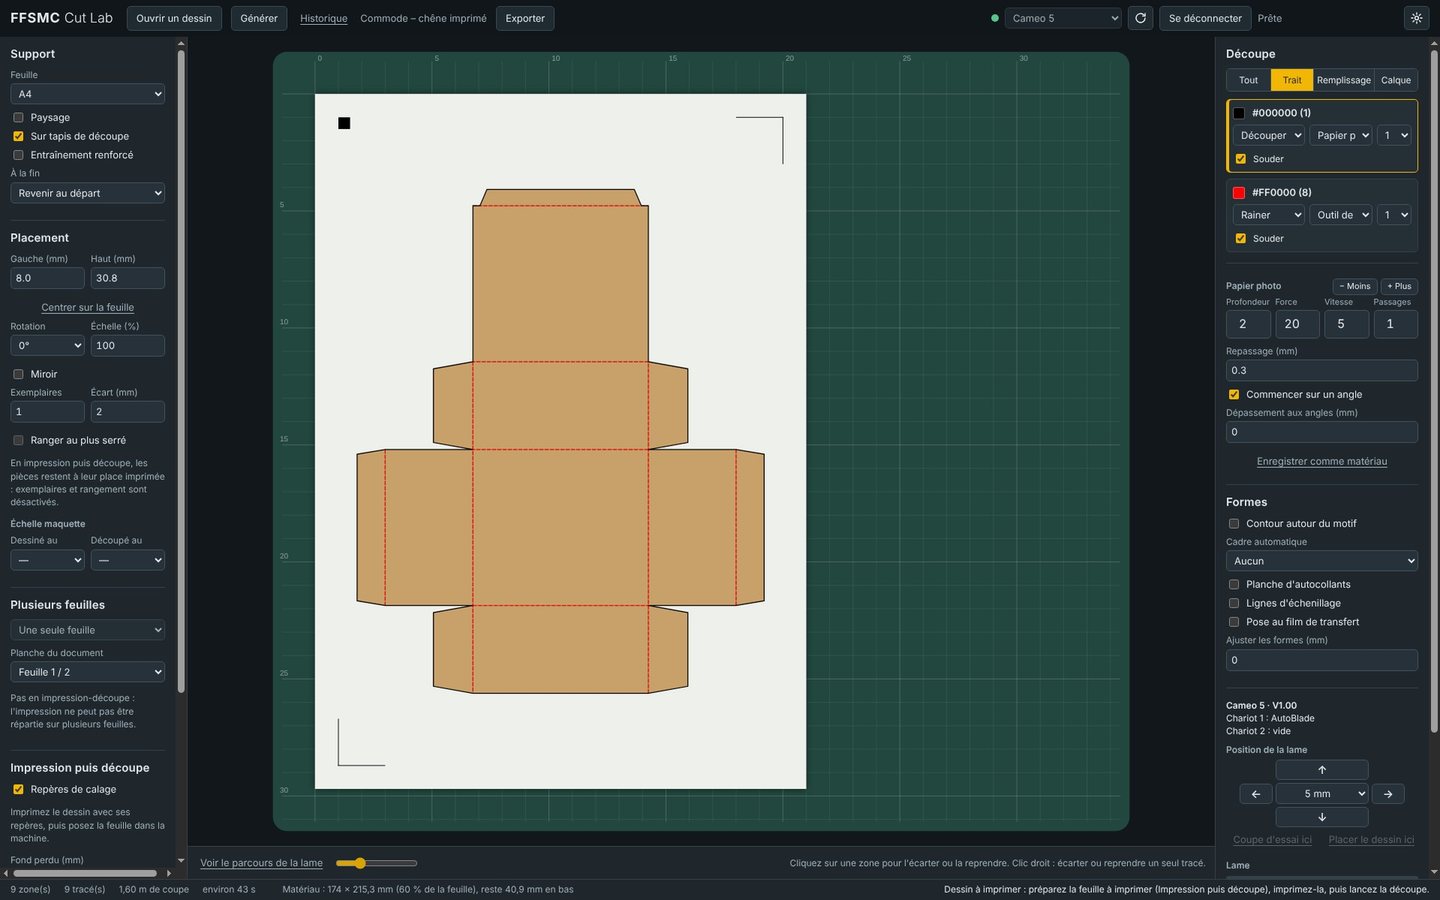
The animation shows in what order everything will be cut, with a slider for its speed. The strip also gives the cutting length and the expected time.
Where Below the sheet, Show the blade path
-
Stop without losing everything
Something wrong halfway? Stop, then Resume where it stopped: the machine carries on from the next zone. And the Windows notification lets you get on with something else while it cuts.
Where During the cut, Stop then Resume where it stopped
-
Always print at 100 %
Cut Lab’s PDF must come out at 100 %, without “fit to page”. Otherwise the marks are no longer where the machine expects them.
Where Print then cut › Prepare the sheet to print (PDF)
-
Switch off the lamp above the machine
Its reflection on the sheet confuses the mark sensor. It’s the first thing to check when the marks can’t be found.
Where Print then cut
-
Bleed against white edges
The image extends slightly beyond the cut line: no more white edge if the blade runs a fraction off.
Where Print then cut › Bleed (Complete and Studio)
-
Corner overcut: zero for vinyl
On thick card, letting the blade go slightly past each corner cuts it right through. On vinyl and Oramask, leave it at 0.
Where Cutting panel, in expert mode
-
Track enhancing for thick materials
The rollers go back and forth a few times before starting, to mark their path well. Useful with thick or slippery materials.
Where Left-hand panel › Media
-
Folds in blue, pen lines in green
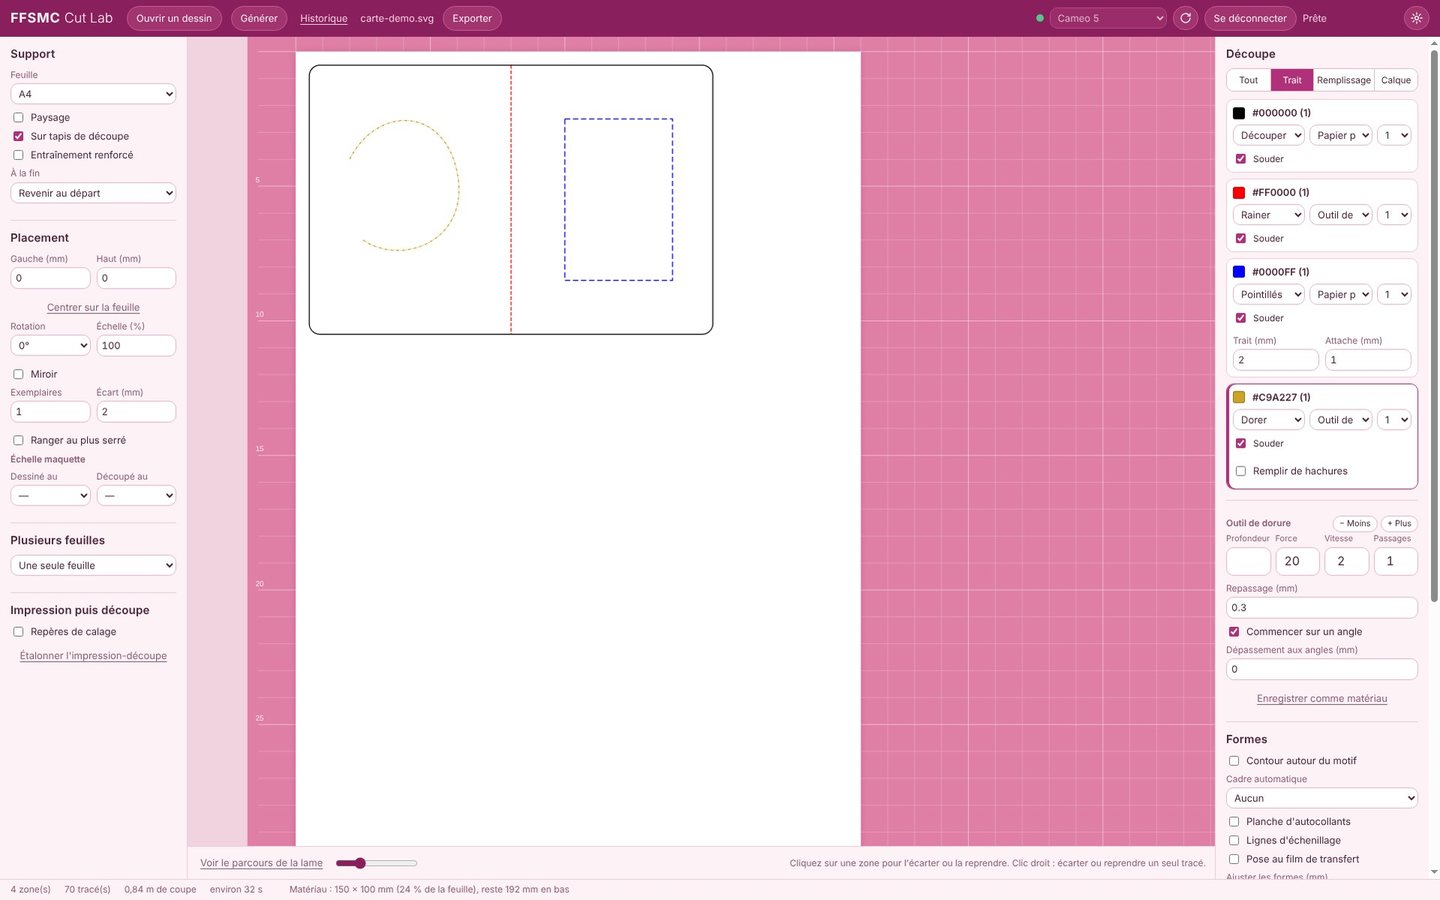
In the assistants’ designs, folds are drawn as blue dotted lines: set blue to Score, Perforate or Draw. Lines in green are meant for the pen.
Where Cutting panel, setting per colour
-
A plan at its real size
Put a plan or photo underneath, click two points whose distance you know, type the real distance: the plan takes on its real size, ready to trace. It will never be cut.
Where Drawing workshop › Tracing plan › Set the scale (Complete and Studio)
-
Repeat a job exactly
Every cut you start is added to the history with all its settings. Reopen brings it back exactly as it was: all that’s left is to check the preview and start.
Where Top bar › History (Complete and Studio)
-
Tell it when the blade is new
Cut Lab counts the metres cut so it can warn you when the blade is getting tired. After changing it, click New blade.
Where Machine settings › Blade (Complete and Studio)