-
Drop the photo onto the window
Drag a photo from File Explorer and drop it anywhere on the window: the wizard opens straight away with it. A .stitchlab chart dropped the same way opens directly in the editor.
Where Home screen
-
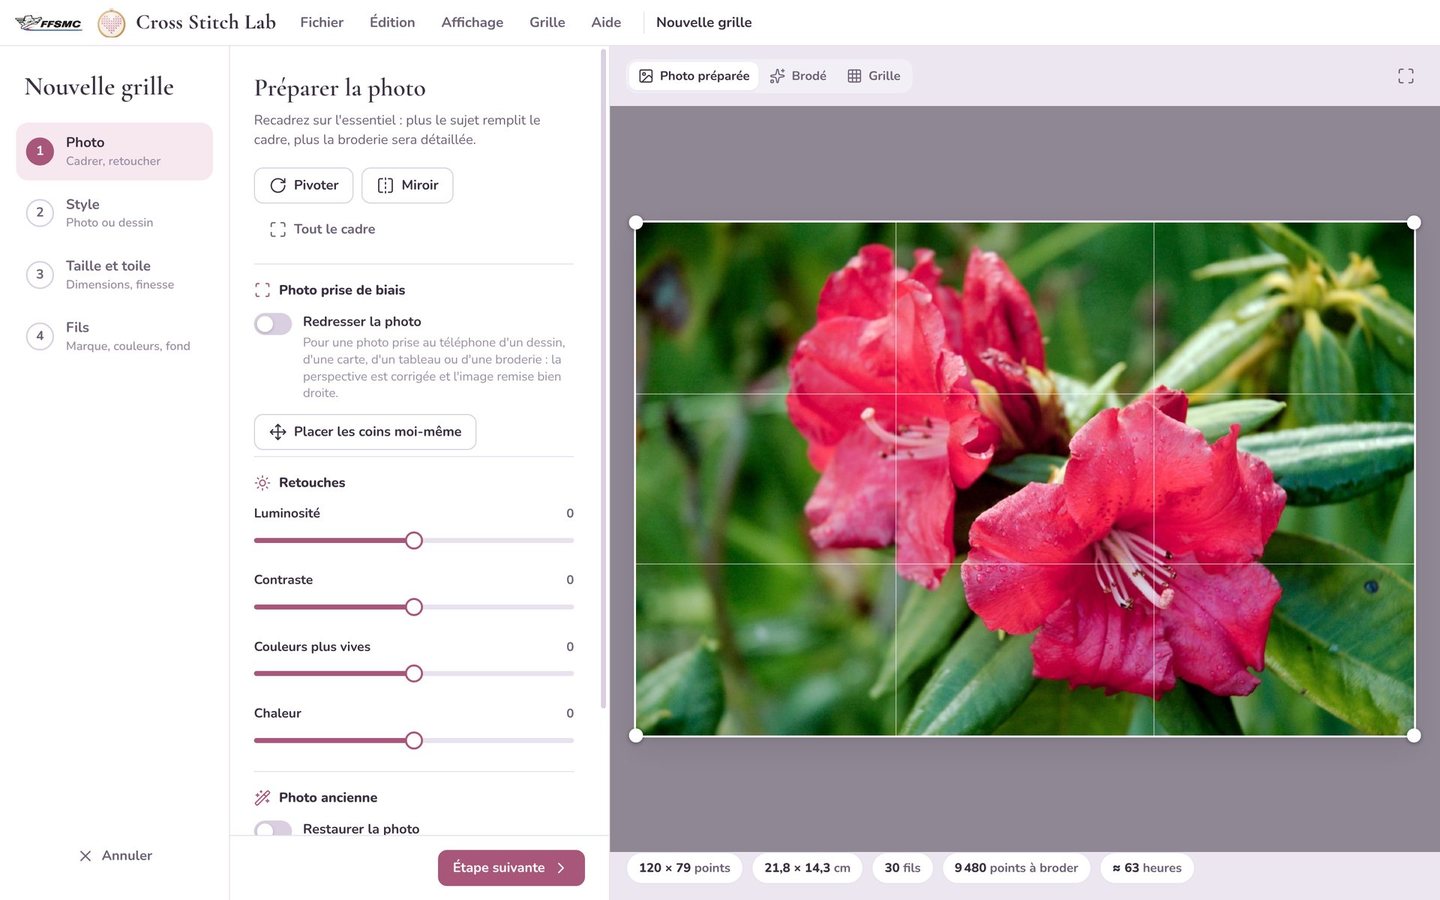
Crop tight
The more the subject fills the frame, the more stitches it gets and the more detailed the embroidery. A portrait cropped on the face gains enormously in finesse.
Where Wizard › Photo › white frame on the preview
-
Place the corners yourself
If a photo taken at an angle wasn’t straightened, drag the four dots onto the corners of the document, then confirm. Next time, lay the document flat on a plain, contrasting surface, photograph the whole of it and avoid reflections from the lamp.
Where Wizard › Photo › Photo taken at an angle › Place the corners myself
-
Remove the white border
The white edge of a card or photo print doesn’t need stitching. Remove the plain border takes it off.
Where Wizard › Photo › Photo taken at an angle › Remove the plain border
-
Double-click resets a slider
Gone too far with brightness or warmth? Double-click the slider and it goes back to zero.
Where Wizard › Photo › Touch-ups
-
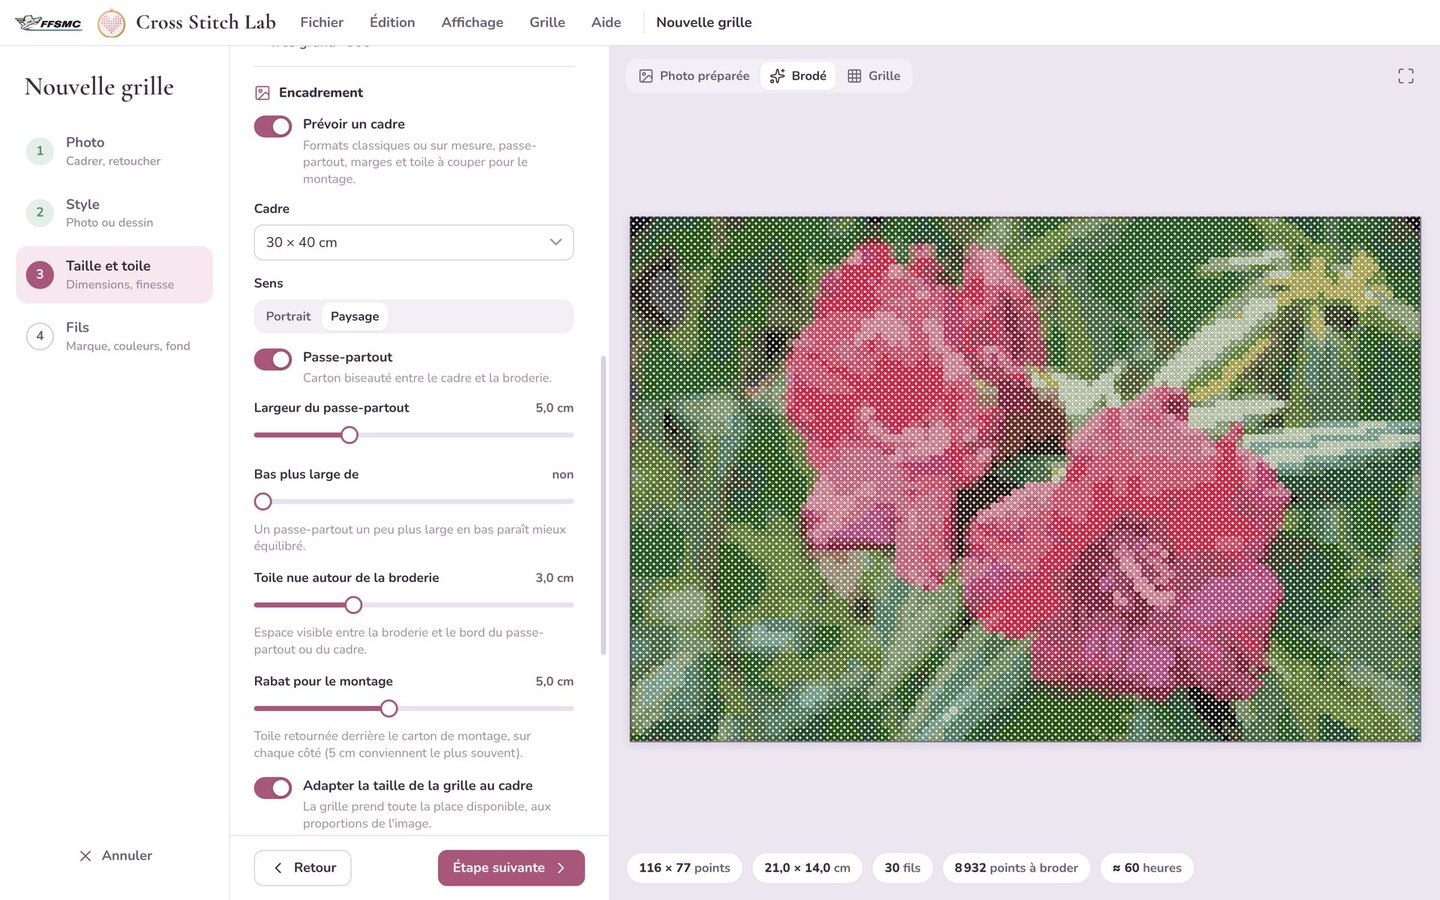
Judge by the Stitched preview
It’s the one that shows the real result, seen from a distance, on the fabric you chose. Switch between Prepared photo, Stitched and Chart before creating the chart.
Where Wizard › buttons above the preview
-
Outlines in backstitch
With a style that draws outlines, the Lines in backstitch option turns the black outlines into fine lines stitched over the crosses, much crisper. It’s the look of commercial “comic” charts.
Where Wizard › Threads › Finishing touches › Lines in backstitch (Complete and Studio)
-
Clean up stray stitches
A single stitch in the middle of another colour means stopping and starting your thread. Set Stray stitches to Clean up, More or A lot: stitching will be far more pleasant.
Where Wizard › Threads › Finishing touches › Stray stitches
-
Remove colours that barely appear
A thread used for only a few stitches is a skein bought for nothing. The Remove colours with fewer than setting gets rid of those threads.
Where Wizard › Threads › Finishing touches
-
Stitch from your stash
Record your skeins once in My threads. Then turn on Only the threads I have: the chart is made solely with what you own.
Where File › My threads…, then Wizard › Threads
-
Spot everywhere a thread is used
Click a thread’s eye: all the others fade, and you see at a glance where it is stitched.
Where Editor › Threads tab › the thread’s eye
-
Merge twin shades
Two almost identical threads in the chart? Merge them: all the stitches of the first go to the second, and that’s one skein less.
Where Editor › Threads tab › right-click › Merge with another thread…
-
Replace a colour everywhere at once
With the Fill tool, Shift + click replaces that colour throughout the chart with the current thread.
Where Editor › Fill tool (F key)
-
Right-click erases
With most tools, a right-click does the opposite of a left-click: it erases instead of placing. No need to change tools to fix a mistake.
Where Editor › toolbar on the left
-
Space bar to move around
Hold down the space bar: the mouse moves the view, whatever the current tool. Keys 1 to 4 switch display modes, from Symbols to Stitched preview.
Where Editor
-
Copy from one chart to another
A border, a motif, a name: copy and paste works between two charts, and missing threads are added automatically to the destination chart.
Where Editor › Selection tool (S key)
-
Legible text
Below 8 stitches high, use a simple bold font such as Arial or Verdana. Handwriting fonts need at least 14 to 16 stitches to stay legible.
Where Chart › Cross-stitch text…
-
Mark a whole area in one click
With the Mark as stitched tool, Shift + click marks a whole area of the same colour at once. Right-click unmarks.
Where Editor › Mark as stitched tool (M key)
-
Repeat a few rows between pages
In the PDF, 1 to 5 greyed rows can be repeated at the edge of the pages: much easier to find your place where pages join.
Where File › Export as PDF… › Layout
-
The evening look
A dark interface, restful for the eyes when you’re working on your chart after dinner.
Where View › Evening look